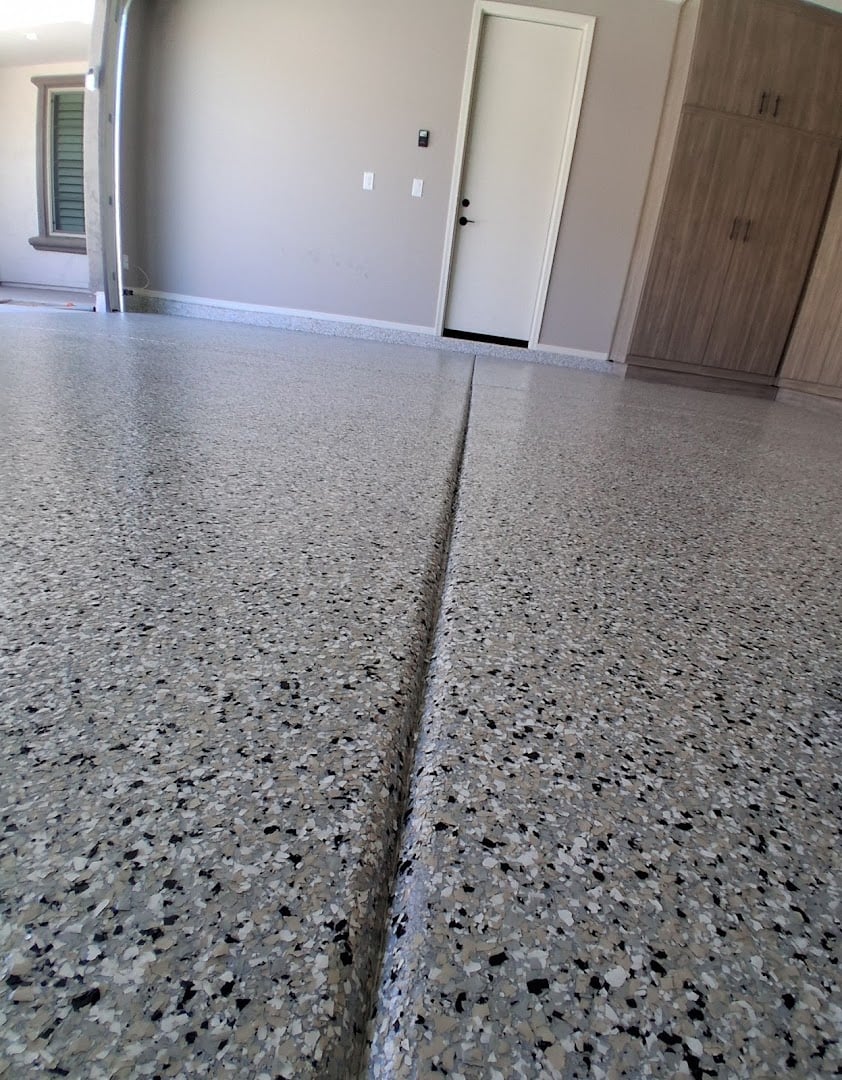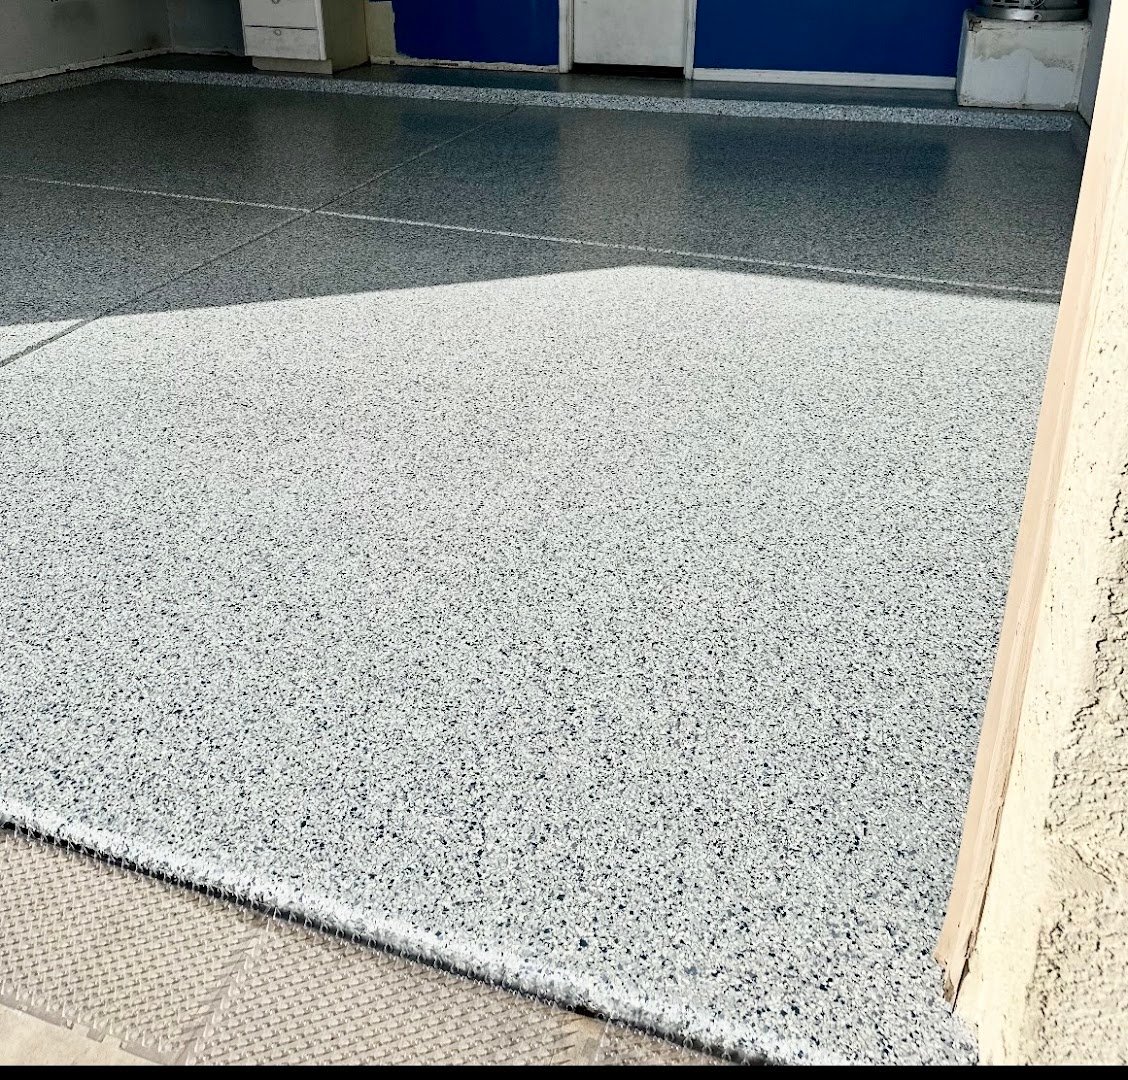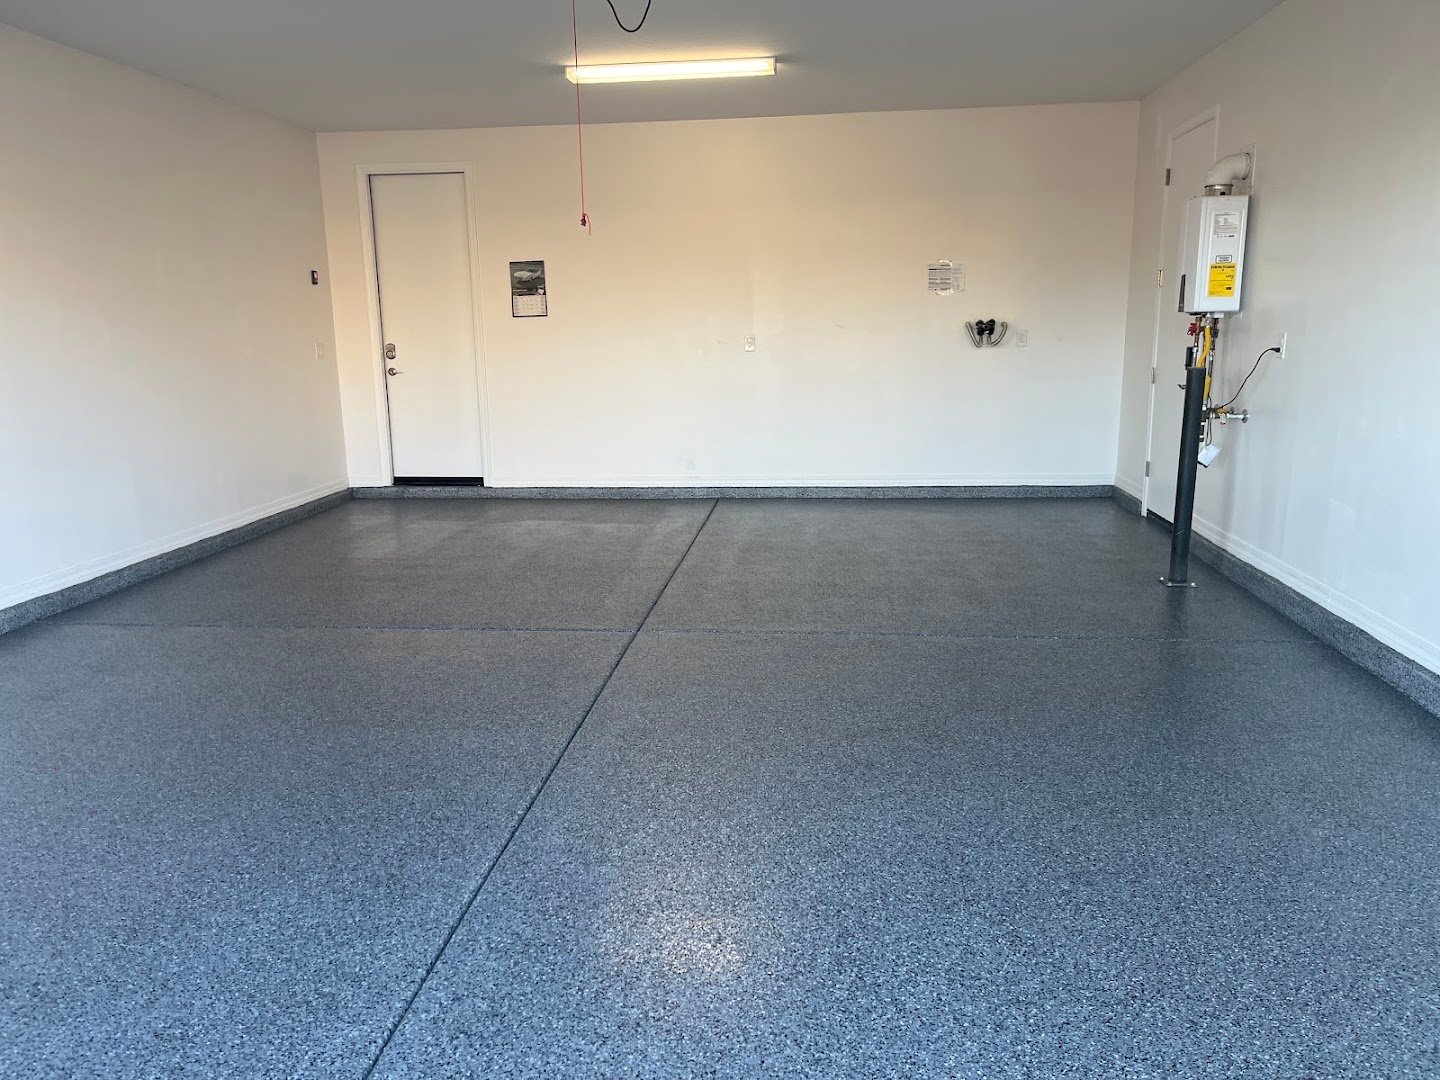

Quick answer: Preparing a basement floor for basement floor coatings involves cleaning the concrete, repairing cracks, testing for moisture, and profiling the surface so the coating can properly bond. Skipping these steps is one of the most common reasons coatings fail early. Cardinal Concrete recommends professional-grade preparation to ensure a durable, long-lasting finish.
Key Takeaways
- Proper surface prep — cleaning, crack repair, and moisture testing — is essential for a coating to bond correctly and last for years.
- Moisture is the biggest threat to basement coatings, and even small amounts trapped beneath the concrete can cause peeling or bubbling.
- Hiring a professional for basement floor coatings in Phoenix AZ ensures the surface is properly profiled, tested, and treated before the coating is applied.
Basements take a beating. Between humidity, foot traffic, and the occasional plumbing mishap, the concrete floor beneath your feet works harder than almost any other surface in your home. That's exactly why so many homeowners turn to basement floor coatings to protect their investment and give the space a clean, finished look.
But here's the thing: a coating is only as good as the surface it's applied to. Slap an epoxy or polyaspartic coating onto a dirty, damp, or uneven floor, and you're setting yourself up for peeling, bubbling, or flaking within months. Preparation isn't the glamorous part of the process, but it's the part that determines whether your new floor lasts five years or twenty.
This guide walks through exactly what goes into preparing a basement concrete floor for professional coating, so you know what to expect and why each step matters.
Why Does Surface Preparation Matter So Much for Basement Coatings?
Concrete is porous. It absorbs moisture, oils, and dust, all of which can interfere with a coating's ability to bond. Without proper prep, even the highest-quality coating product will struggle to adhere correctly.
Basements present a unique challenge because they sit below grade, meaning they're surrounded by soil that can push moisture up through the slab. This moisture, if not addressed before coating, becomes trapped underneath the finish. Over time, that trapped moisture causes bubbling, delamination, and discoloration — problems no homeowner wants to deal with after investing in a new floor.
What Are the Steps to Prepare a Basement Floor for Coating?
Step 1: Clear and Clean the Space
Before any real prep work begins, the basement needs to be cleared of furniture, storage items, and debris. Once the space is empty, the floor should be swept and vacuumed to remove loose dust and dirt.
Following this, a degreasing cleaner is typically used to strip away oils, residue, or old sealants. This step matters more than people expect. Any leftover residue acts as a barrier between the concrete and the coating, preventing a proper bond.
Step 2: Test for Moisture
This is arguably the most important step in the entire process. Professionals use a moisture test, such as a calcium chloride test or a relative humidity probe, to measure how much vapor is moving through the slab.
If moisture levels are too high, applying a coating immediately would be a mistake. Instead, a moisture mitigation system or vapor barrier may need to be applied first. Skipping this step is one of the leading causes of coating failure in basements specifically, since below-grade slabs are naturally more prone to moisture intrusion than floors on upper levels.
Step 3: Repair Cracks and Imperfections
Basement floors often develop hairline cracks, small chips, or uneven patches over time due to settling or temperature changes. Before coating, these imperfections need to be filled and leveled using a concrete patching compound.
Leaving cracks untreated doesn't just look bad under a glossy coating — it can also cause the coating itself to crack along the same lines as the slab moves.
Step 4: Profile the Concrete Surface
Coatings need something to grip onto, and a smooth, factory-finished slab doesn't offer much traction. This is where surface profiling comes in.
Professionals typically use diamond grinding or shot blasting to create a slightly textured surface, often compared in feel to fine sandpaper. This step, sometimes called "opening the pores" of the concrete, dramatically improves how well the coating bonds to the slab.
Acid etching is sometimes used as an alternative, though most professional installers favor mechanical grinding since it produces a more consistent surface profile and doesn't introduce additional chemicals into the concrete.
Step 5: Apply a Primer (If Required)
Depending on the coating system selected, a primer coat may be applied after profiling. Primers help the coating bond more effectively and, in some cases, provide an added layer of moisture resistance.
Step 6: Final Inspection Before Coating
Once cleaning, moisture testing, crack repair, and profiling are complete, a final walk-through ensures the floor is fully ready. Any remaining dust from the grinding process is removed, and the space is checked for proper ventilation and temperature, both of which affect how well the coating cures.
Should You DIY Basement Floor Prep or Hire a Professional?
Homeowners sometimes attempt to prepare their basement floors themselves using rental equipment and store-bought cleaning products. While this can work for very small, low-traffic areas, it comes with real risk. Without proper moisture testing equipment, it's nearly impossible to know whether a slab is dry enough to coat safely. And without professional-grade grinding tools, achieving a consistent surface profile across an entire basement floor is difficult.
Choose professional preparation and installation if long-term durability matters more than upfront cost. A professionally prepped and coated floor typically outlasts a DIY attempt by years, which makes the investment worthwhile for most homeowners planning to stay in their home long-term.
For homeowners searching for reliable basement floor coatings Phoenix AZ residents can trust, Cardinal Concrete handles every step of this process, from moisture testing to final coating application, ensuring the job is done right the first time.
Give Your Basement Floor a Finish That Lasts
A properly prepared basement floor sets the stage for a coating that looks great and performs well for years to come. Skipping steps like moisture testing or surface profiling might save time upfront, but it often leads to costly repairs down the road.
If you're ready to transform your basement with a durable, professionally applied coating, Cardinal Concrete is here to help. Reach out today to schedule a consultation and get your basement floor prepped and coated the right way.
Frequently Asked Questions
How long does it take to prepare a basement floor for coating?
Preparation typically takes one to two days, depending on the size of the basement and the condition of the existing slab. Moisture testing alone can take several hours to get accurate readings.
Can you coat a basement floor if it has a moisture problem?
Not without addressing the moisture first. Applying a coating over a damp slab often leads to bubbling or peeling within months, so moisture mitigation should always happen before coating.
Is professional grinding necessary, or can acid etching work instead?
Acid etching can work for some projects, but professional grinding produces a more consistent surface profile and is generally recommended for long-lasting results.
How much does professional basement floor preparation cost?
Costs vary based on square footage, the extent of repairs needed, and whether moisture mitigation is required. Getting a quote from a local provider like Cardinal Concrete is the best way to get an accurate estimate.
What happens if a basement floor isn't properly prepared before coating?
Without proper prep, coatings are far more likely to fail early through peeling, bubbling, or poor adhesion, often requiring the entire coating to be removed and reapplied.